We make pizza weekly at our household and cook it on a stone in the oven. We’ve done it this way for years. How we’ve went this long without a pizza peel is beyond me. Needless to say, it was time. I knew I wanted some extra detail in the peel and I wanted that detail to extend into the handle. So step one is designing the detail. I sketched it out to scale on a piece of MDF I had laying around the shop. Here’s what I came up with.

Pizza peel accent sketch
After perusing my off cuts, I ended up swapping the cherry and sapele around. I milled all of the parts on my tablesaw and cut them to rough length. With the help of some light duty double stick tape, I dry fit the pieces together. When I was happy with how everything fit together, I glued it up with some titebond 3.

Laying out the accent strips with double stick tape

Gluing up the accent pieces
While the accent was gluing up, I milled the rough sawn maple and walnut to size and glued up the maple and walnut together. As that was gluing up, I unclamped the accent pieces and cut a bunch of pieces to size using a crosscut sled on the tablesaw.

Accent detail pieces ready to be glued up
I then milled the final maple pieces that go on either side of the accents. With those pieces made, I glued up the accent detail. After the glue had set for a bit, I unclamped the accent pieces and glued up the rough blank of the peel. At this point it is starting to take some shape.

Gluing up the accent detail

Gluing up the pizza peel blank
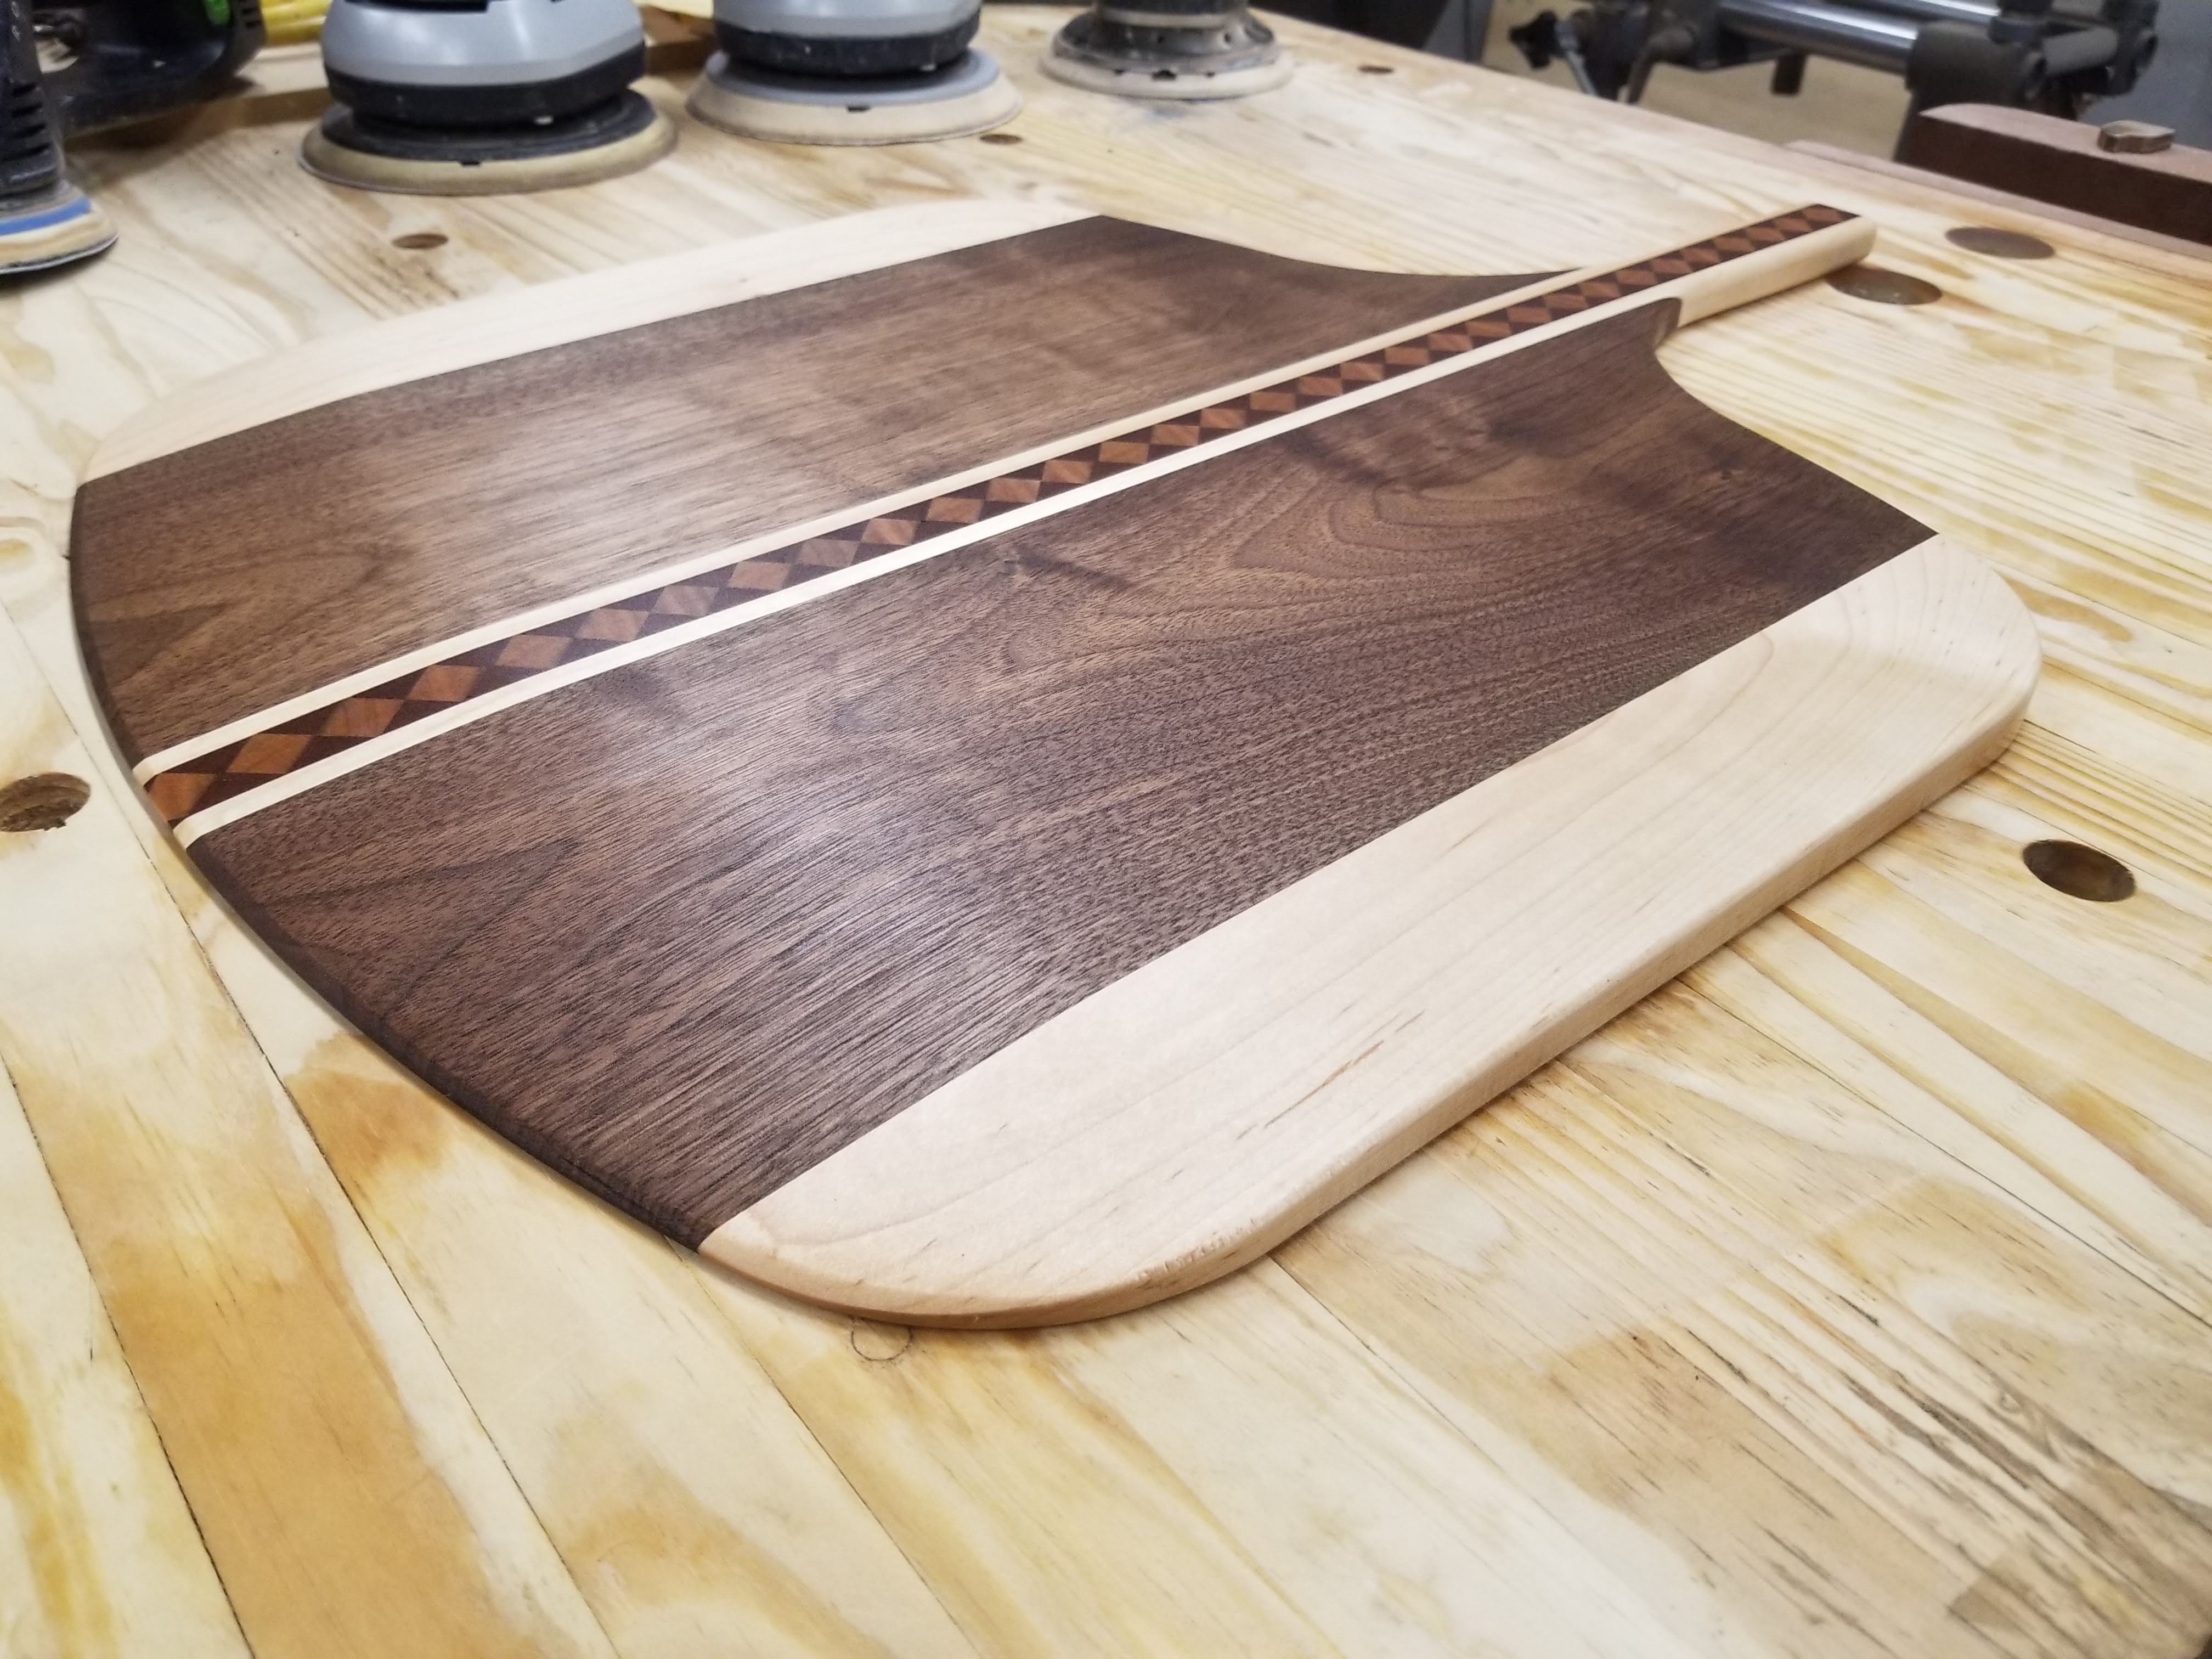
After the glue had set up, I surfaced both sides on the CNC. Next, I shaped the main body taper which went from 3/4″ at the handle to 1/4″ at the edge. After cutting the taper, I then drew up the shape and cut it out on the CNC. At this point I took the peel off of the CNC bed and laid out for the final edge taper. I cut this taper with my veritas low angle block plane.

Cutting the final taper on the edge of the peel.
Once the taper was cut, I rounded over most of the edges with a 1/8″ roundover. On the handle, I used a 1/4″ roundover to make it more comfortable. I blended where the two roundovers met by hand to make a smooth transition. After that, there was lots of sanding. I started at 80 grit and ended at 320 grit. Smooth as a baby’s butt! A coat of mineral oil and it’s ready to use.


I got a chance to try it out with some homemade pizza. It works great!

Homemade pizza on a homemade pizza peel
Comments are closed