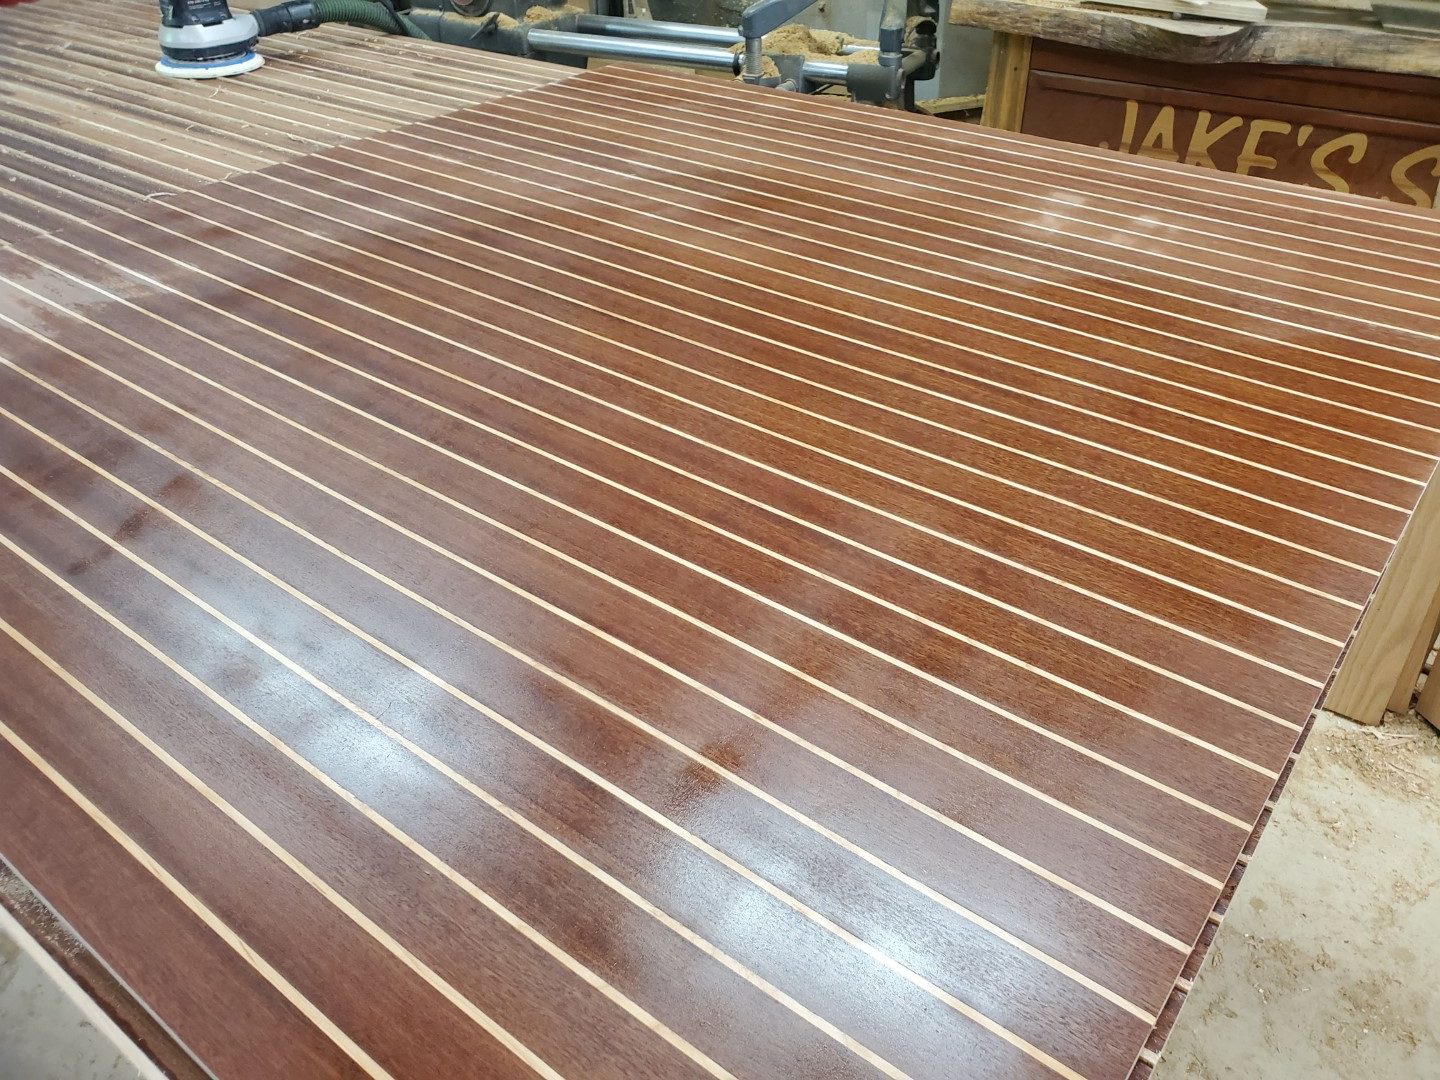
Mahogany and maple floor
For this project, I was assisting another local yacht woodworking company. My task was to take the one and a half sheets of sapele mahogany veneered plywood and inlay solid maple strips every 1 3/8″. These panels were then going to be used for the floor of a yacht.
Track saw dado blade
I used tape at either end and laid out the lines on the tape. Using tape means I don’t have to sand off pencil from the thin veneer. After laying out the lines, I opted to cut the lines using my track saw loaded with two saw blades – like a dado stack. The width of the kerf was exactly the width the maple needed to be so it worked out perfectly. Methodically I worked my way down the panel and cut the kerfs in the plywood panels.
Accuracy matters
With the panels kerfed, I milled the maple strips. I wanted the maple to be a snug fit that was tight enough to hold itself in the kerf so that I wouldn’t have to clamp each individual strip. As I milled the strips, I left them a touch heavy (wide) and then ran them through the drum sander to .003″ smaller than the kerf width. In my test pieces, this gave me the friction fit I was looking for.
Installing the strips
With the maple pieces properly sized, it was time to install them. I used West System epoxy and their special clear hardener. I mixed small batches and poured the batches into a dental syringe for precision application into the kerfs in the plywood. One by one I set the strips in place and used a mallet and roller to set them tight.
Trimming the height
The next day it was time to trim the height of the strips to be flush with the veneer. I made a jig for my router to run along the strips and cut the height of the strips to .010″ above the height of veneer.
Sanding without burning through
After trimming all of the maple strips, I sanded them flush using a 6″ sander and a hard pad. The hard pad is critical because it rides across the tops of the maple strips without dipping down and sanding the veneer between the strips. With the wrong setup, it would have been real easy to sand through the veneer and ruin the entire panel. I worked my was across the panel and sanded it flush without burning through the veneer.
Good feedback
That was all for me on this one. To get a feel for the final look, I wiped the panel down with mineral spirits and it looks awesome. The yacht woodworking company I assisted on this handled the finish work and the installation. I got word back that not only did it look great, that the lines between the panels lined up perfectly. They were actually a bit surprised on how perfect they lined up. Another job well done!


No responses yet