Large maple countertop refinish
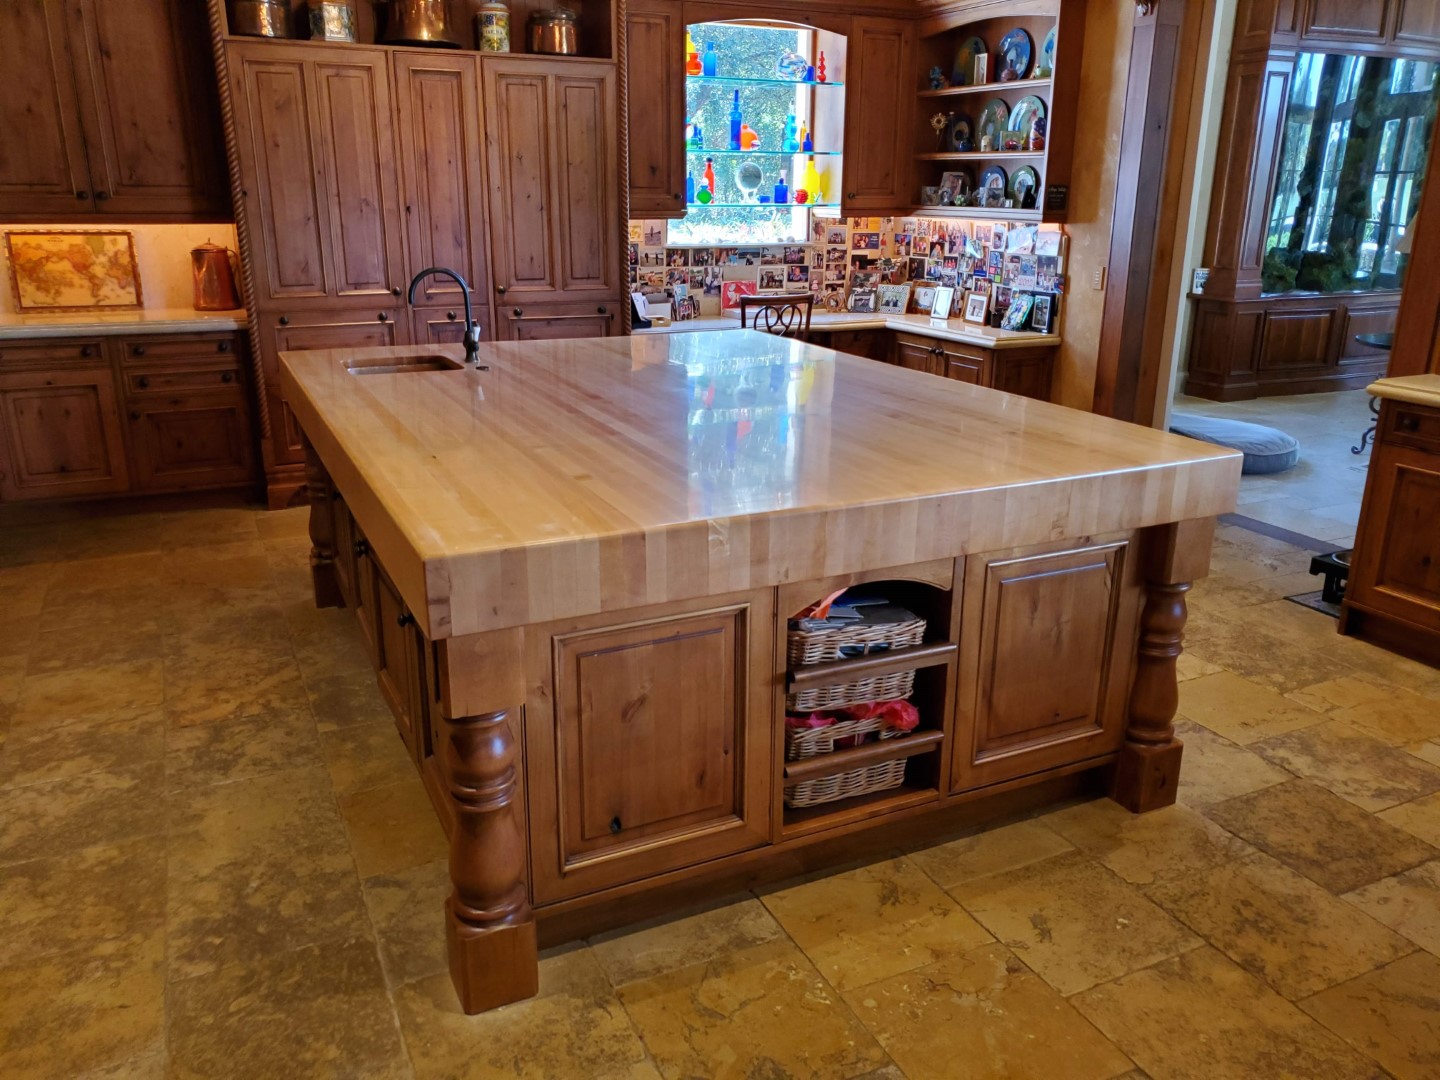
I was hired to refinish the massive maple butcher block island countertop at a home in Jupiter, Florida. It is a beautiful piece of woodwork, and did I mention that it’s massive? I couldn’t even imagine moving that into the house. The existing finish had been damaged in a few areas and had discolored in other areas.


Dust protection first
My plan was to sand off the existing finish. While I will be using vacuum connected sanders, I still want to put up dust containment for any errant dust that doesn’t get collected by the dust extractor. I masked off the floor leading up to the kitchen as well as the kitchen floor around the island. To contain the island, I built a curtain wall around the kitchen using plastic sheeting and extendable poles. Lastly, I masked off the cabinets below the countertop.
Sanding and card scrapers
With the protection up, it was time to get started. I gave a heavy uniform sand to the entire top until I got back to raw wood. At that point I blend sanded any high or low spots to give it a smoother appearance. Around the sink I opted to use card scrapers to remove the finish adjacent to the copper peened sink. I have more control with card scrapers than sanders and I did not want to damage the sink.

I had to climb on top to finish sanding the middle 
Card scraping the edge by the sink 
Ready for finish


Applying the finish
With the sanding complete, I got ready to apply the finish. I vacuumed off the dust and then wiped off any residual dust with a rag dampened with mineral spirits. I applied 3 coats of Behlen’s (who was bought out by Mohawk) Rockhard Tabletop Urethane Varnish. The finish was applied by hand and left to sit overnight before scuff sanding the next morning in preparation for the following coat.

Looks great. Doesn’t feel great
The final coat flowed out very well and looked great from 3 feet away. However, when you ran your hand across it, it had a bit of a scratchy feel from some dust nibs and other small debris that had landed in the finish. That’s one of the drawbacks of a finish with a long open time such as a urethane varnish – the longer it stays wet, the more debris tend to land in it. However, since it stays wet so long it flows out very well though! That’s the trade off.

Using a light to locate any low spots 
Wet sanded and almost ready for the pumice stone


Hand rubbed perfection
Even though it looked good, I wasn’t happy with the finish because of the dust nibs. I opted to wet sand and rub out the finish to a satin luster. To confirm it would work, I did a small area and sure enough, the nibs were gone and the finish was silky smooth. I wet sanded the entire top using multiple grits of super fine sandpaper up through 1200 grit. Next, I rubbed out the finish using fine pumice stone and then lastly rottenstone. The end result is a satiny luster that is perfectly flat and silky smooth like a piece of furniture that has been French polished. Now I was happy, and so were the clients!


Comments are closed