Pecky Cypress LED Sign
My wife has her own salon, Salon Ocean, in Jupiter and she commissioned me to build her a sign for her new suite. She’s right at the front of the building and the suite is visible from the sidewalk. She was fine with something simple but I wanted a sign that would really stand out. I opted to use pecky cypress and to back light it using LED lights.
Proof of concept
My concept was to sandwich a layer of frosted acrylic between the letters and the backer (pecky cypress). The frosted acrylic would diffuse the light from the LEDs which comes through the backer at holes drilled behind the acrylic. That means the holes are hidden and there should be a subtle glow from behind the letters.

CNC work
I CNC cut the mirror image of all of the letters which allows me to have the back of the letters towards the spindle. This allowed me to CNC cut holes for acrylic standoffs at precise locations. Next I CNC cut the hole pattern for the standoffs as well as the LEDs into the pecky cypress backer panel. I also CNC cut the acrylic pieces to be 1/4″ larger than the letters. To find the right look, I played with the amount of overhang on the acrylic and found 1/4″ projection to be about right.
Miterfolding
I miterfolded all four edges of the pecky cypress. Miterfolding is when you cut the same piece at two 45 degree angles so that the piece can return back onto itself at a 90 degree angle which keeps the same graining – or in this case, it keeps the same holes from the peckiness. It’s a normal procedure in furniture making but it’s difficult to do with pecky cypress because the ends just fall apart into hundreds of small pieces. Hence the blue tape. The miterfold also makes the sign appear thicker which gives me room to run all of the LEDs behind the sign.

High gloss for bling
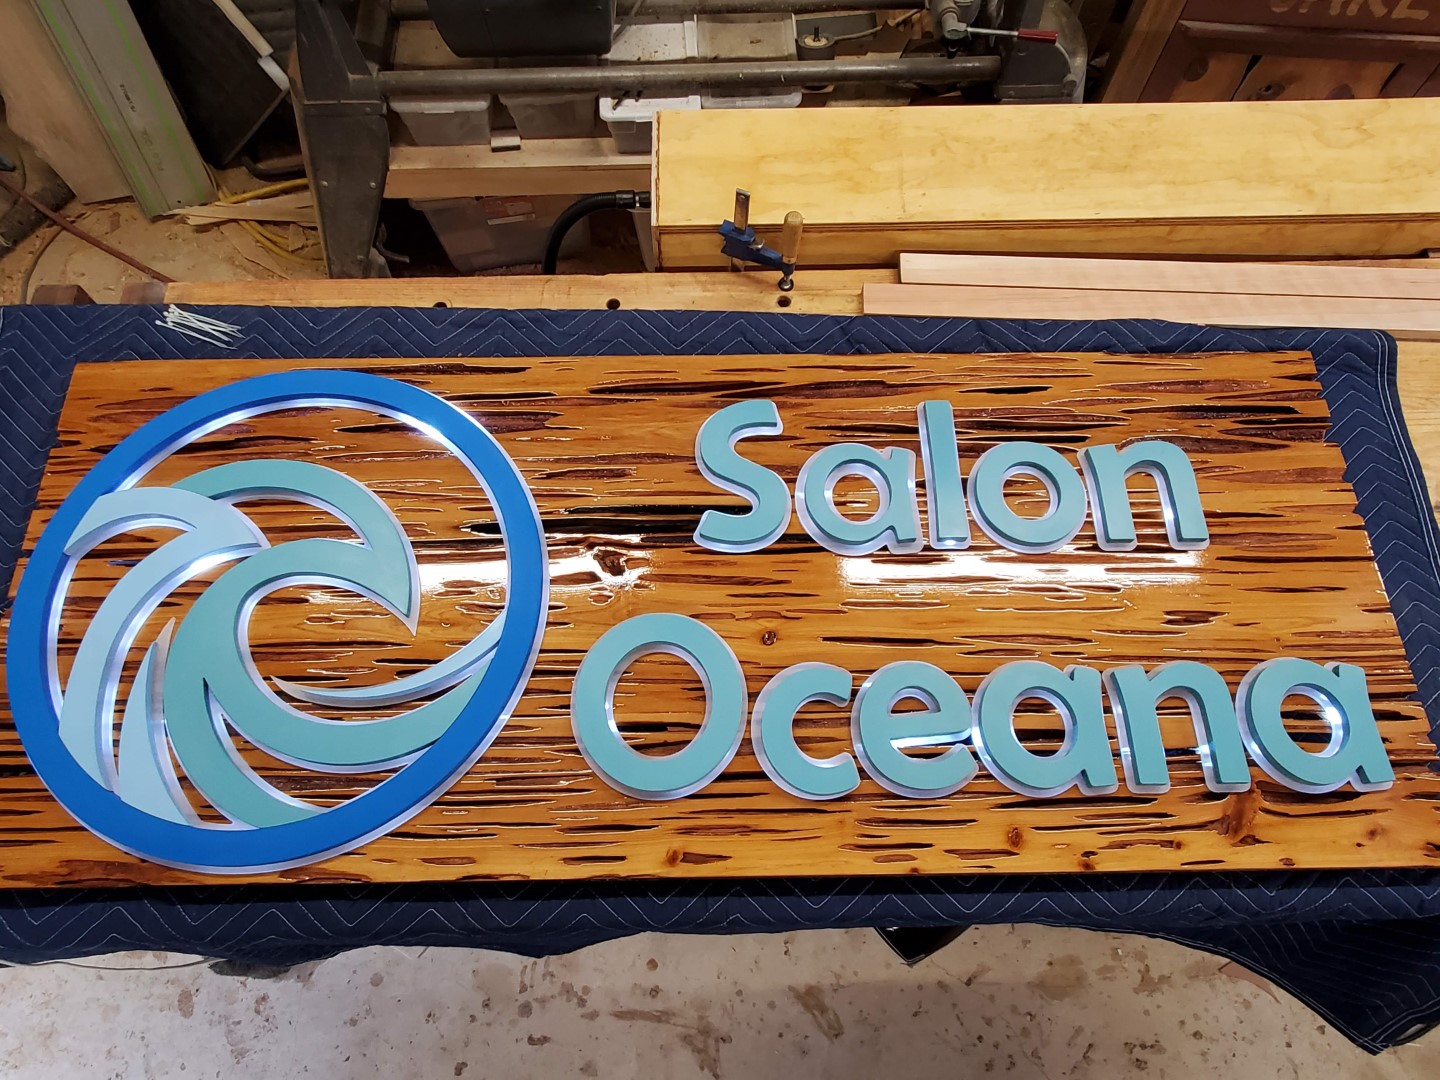
Once the CNC work was done, I sprayed the pecky cypress with 6 coats of a high gloss automotive finish. That gave me the bling I was looking for. I also sprayed the letters and logo with various blue colors that were similar to her actual logo color.
Putting it all together
With the finish complete, I meticulously mounted the LED’s to the back of the panel at each hole location.

Once the LEDs were installed, I flipped the sign over and mounted the letters with their acrylic backer.
Time to test out the LEDs. I plugged them in and the sign glowed. I turned off the lights in the shop and was really pleased. The sign glowed very nicely and the holes in the pecky cypress allowed for some light bleed to come through (which I wanted) giving the entire sign a very unique look. But more importantly, Oceana was happy. Happy wife, happy life!


Comments are closed