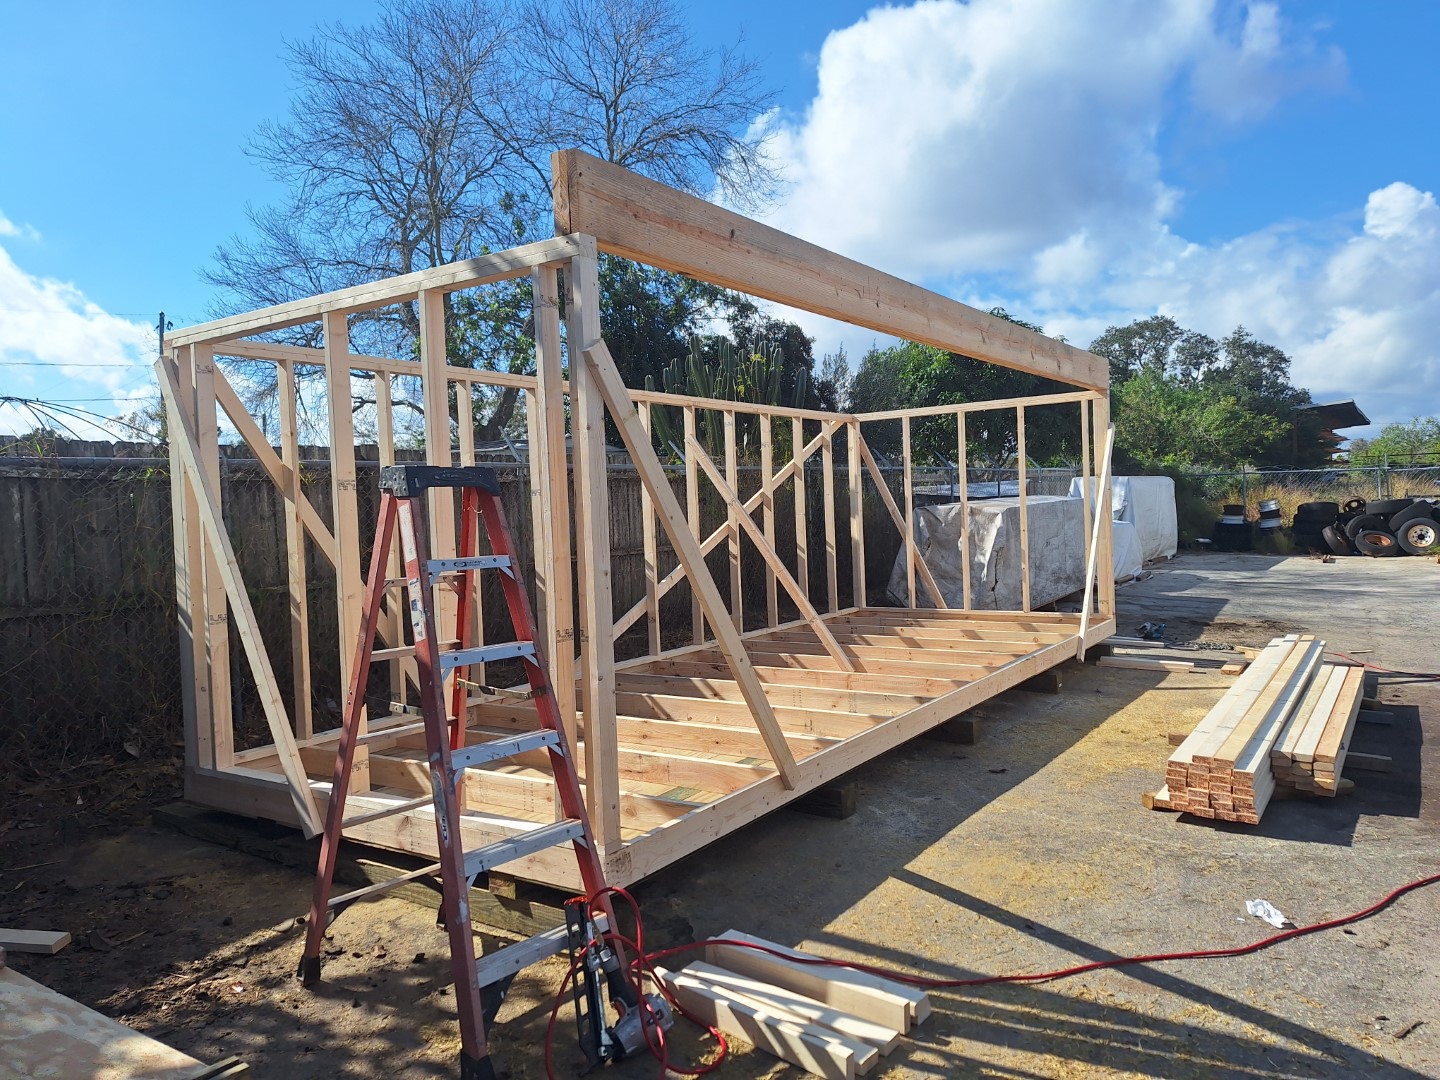
After deciding to build my own wood drying kiln building (part 1 can be found here), the next step was to get lumber ordered. It showed up the next morning so now it’s time to get to work. The first step was the hardest – making a level area to build up from. I am going to build the kiln on 4×6 runners, which will make future relocation easier. These 4x6s are going to sit onto 6x6s that I’ll scribe to the way unlevel blacktop. This was the fun part.
Leveling out the foundation
There are 5 6x6s that will need to be leveled. I laid them out into position and then shimmed them level to the highest 6×6. Once they were leveled in both directions, I marked down the side of each with scribe marks to lay out for my cuts. For this I used a 2′ piece of 2×4 on its side. I used a skill saw to cut down the scribe lines on both sides and then wound up using a chainsaw to cut the balance in the middle. Somewhat crude but still effective. One by one I scribed the 6x6s and then afterwards I checked level again. A few needed a little more cutting but then I had a good, flat, level foundation to build up from.

Building the floor….upside down!?
The next step was the floor. The floor will be a pretty basic 2×6 frame 24″ on center. There’s only one wrinkle. I want to plywood the bottom, and the only way I can figure to do that (since it’s so low to the ground), is to build the floor upside down and then flip it. As such, I laid out the frame and nailed the 2x6s together until I had my 9′ x 24′ floor complete. Next, I laid out the 4x6s, cut them to length, and then bolted them in place with 6″ structural lag screws to each joist. After the 4x6s were secured, I made sure the frame was square and then covered the frame with 1/2″ pressure treated plywood.

The flip
To accommodate flipping the floor over, I left one piece of plywood off in the far side center. After being flipped, this would be front and center. The plan is to lift the whole floor assembly up, slide it back, start to lower it down with the forks, nail on the last piece of plywood, and then set it lower it in place. I used a set of chains with the front end loader forks to lift it. This actually went very well. It was well balanced and slid back on the 6x6s with ease.

Setting it in place
I brought in our forklift to assist as I set the floor down and started slightly tipping it forward. The forklift helped hold it up while I took the chains off of the front end loader forks. With the chains out of the way, I nailed on the last piece of plywood. I then used the loader forks under the front 4×6 to guide the whole floor down into place. A little shimmying left and right and the floor was set. For curiosity, I checked the frame with a level. I wound up shimming two areas to make it true but now it’s sitting flat and level.
No subfloor, yet
To simplify the spray foam insulation process, I’m going to opt to hold off on the subfloor for now. I would generally prefer to put the subfloor down and then frame the walls on top of the subfloor. However, that means I would need the insulation done now. Since that won’t be happening, I’ll wind up building the walls directly onto the floor frame.
Framing the back wall
The walls went pretty straight forward. 2×4 framing at 2′ on center with the studs landing directly over each floor joist. I built the long wall first and framed it laying down on the floor framing. Once it was done, I squared it up then added some diagonal bracing. I nailed on some more diagonal braces to help hold the wall once I lift it up. I stood the wall up and then eyeballed level as I nailed off the first diagonal to hold the wall up so that I could let go. It wasn’t even close, but that’s ok. I nailed off the bottom plate and then plumbed up the far side. Once plumb, I added a diagonal brace to lock it in place. I then fixed my original diagonal brace so the wall was plumb there and then added a third brace in the middle.
The header
With the back wall frame complete, I built the two side walls. These were similarly constructed and I used a double top plate method to overlap the top plate of the back walls. These went up fast. The last item was the big header. I’m building the 24′ long header out of a triple 2×12. I laid it out on the ground and cut the pieces to length. Two of the layers have a 20′ 2×12 with a 4′ long remainder piece. The third layer has a 16′ and an 8′ piece. I made sure all joints were offset and then nailed the crap out of it. After nailing, I used three 4.5″ structural screws every 24″ on center. Next, I used the forklift to lift it into place on the wall. It fits! And that’s enough for one day. Next up will be the roof build.


No responses yet