Getting Started
With the fourth of July around the corner, I got the urge to make an American flag cutting board. And if you’re going to go through all of the trouble to make one board, why not make 4, right? Starting out I reviewed dimensions of the American flag and scaled it down to a functional size. I ended up with 3/4″ wide red and white stripes. With a total of 13 stripes, the overall height is just under 10″. The length ended up at 18″ A 10″x18″ cutting board is a great size for daily use. With that knowledge, I started milling the lumber. Here’s a pic of the cherry coming off the planer.

Sawing and gluing up the stripes
With the lumber planed down to thickness, I cut the boards to rough length. This makes them easier to handle when running them on my small 6″ jointer. Next was jointing one edge straight and then resawing the strips for the stripes on the flag. I marked each board before ripping so that I could re-align the grain during the glue up. During the glue up, I glued all joints except the joint between stripes 6 and 7. This would make it easier later on to glue in the walnut “blue” portion of the flag.

Gluing up the remainder of the flag
After unclamping, I rough cut the boards to length. I had originally set out for 3 boards but wound up with nearly enough material for 4 boards so I milled the missing strip and glued up board #4. Next I milled the walnut portion to rough size and then glued them to the adjacent stripes. Once that glue had set up, I then glued up the entire body of the flag.

Surfacing the board on the CNC
With the boards all glued up, I needed to flatten them out. As hard as I try to line everything up during the glue up, some boards are not perfectly aligned to the next. To remedy this the boards can be ran through a planer. This will flatten them nicely, however, if the boards developed any warp or twist during the glue up, the planer would not fix this. With that in mind, I prefer to flatten them on the CNC. If there is any warp or twist, the CNC will get rid of it while milling the board perfectly flat. A quick sand with 80 grit after being surfaced on the CNC gets rid of any milling marks.

Cutting the boards to final size
After the initial rough sanding, I cut the boards to final size using the crosscut sled on the table saw. This ensures the boards are perfectly square and I also laid it out to ensure the walnut portions are exactly the same size. This is important for the next step which is cutting out for the stars on the CNC. If the walnut areas were different sized, I would have to re-draw each board separately. That’s too time consuming. So I take the time to make them uniform. These American flag cutting boards are starting to shape up!


Cutting out the stars
To cut out the stars, I drew out the exact size of the cutting board in my software. I had to do two different layouts as the location of the walnut area changes when flipping the boards over to cut the stars in the opposite side. I set up the boards, installed a 1/16″ end mill, set the Z height, and let the CNC start milling away.
Routing and epoxy filling
With the stars cut out, I give the boards another sand to clean up the edges of the cut out. Next up is the epoxy fill. I mixed some system three epoxy with some cab-o-sil thickener and some white powdered dye to get the thickness and color I want. Both sides of the American flag cutting boards are epoxy filled and then the boards are stood up to let the epoxy cure. I try to slightly overfill the stars as the epoxy will shrink back a little while curing.


Final sanding and clean up
After the epoxy had cured overnight, I hit them with some 80 grit to remove the excess. After the boards were cleaned up, I ran them on the router with a 3/16″ round over bit to soften up the edges of the boards. Next I water popped the boards. The first time a wood board gets wet, fibers in the board stand up and make it feel rough. If the cutting boards were not water popped, the first time they were washed in the sink some of the wood fibers would stand up and the board would feel rough. This happens even on a well sanded board. To eliminate this from happening, I wet the boards and let them dry before final sanding them. The sanding process goes through 5 different grits starting at 80 grit and ending at 320 grit. The boards wind up with a silky smooth finish.

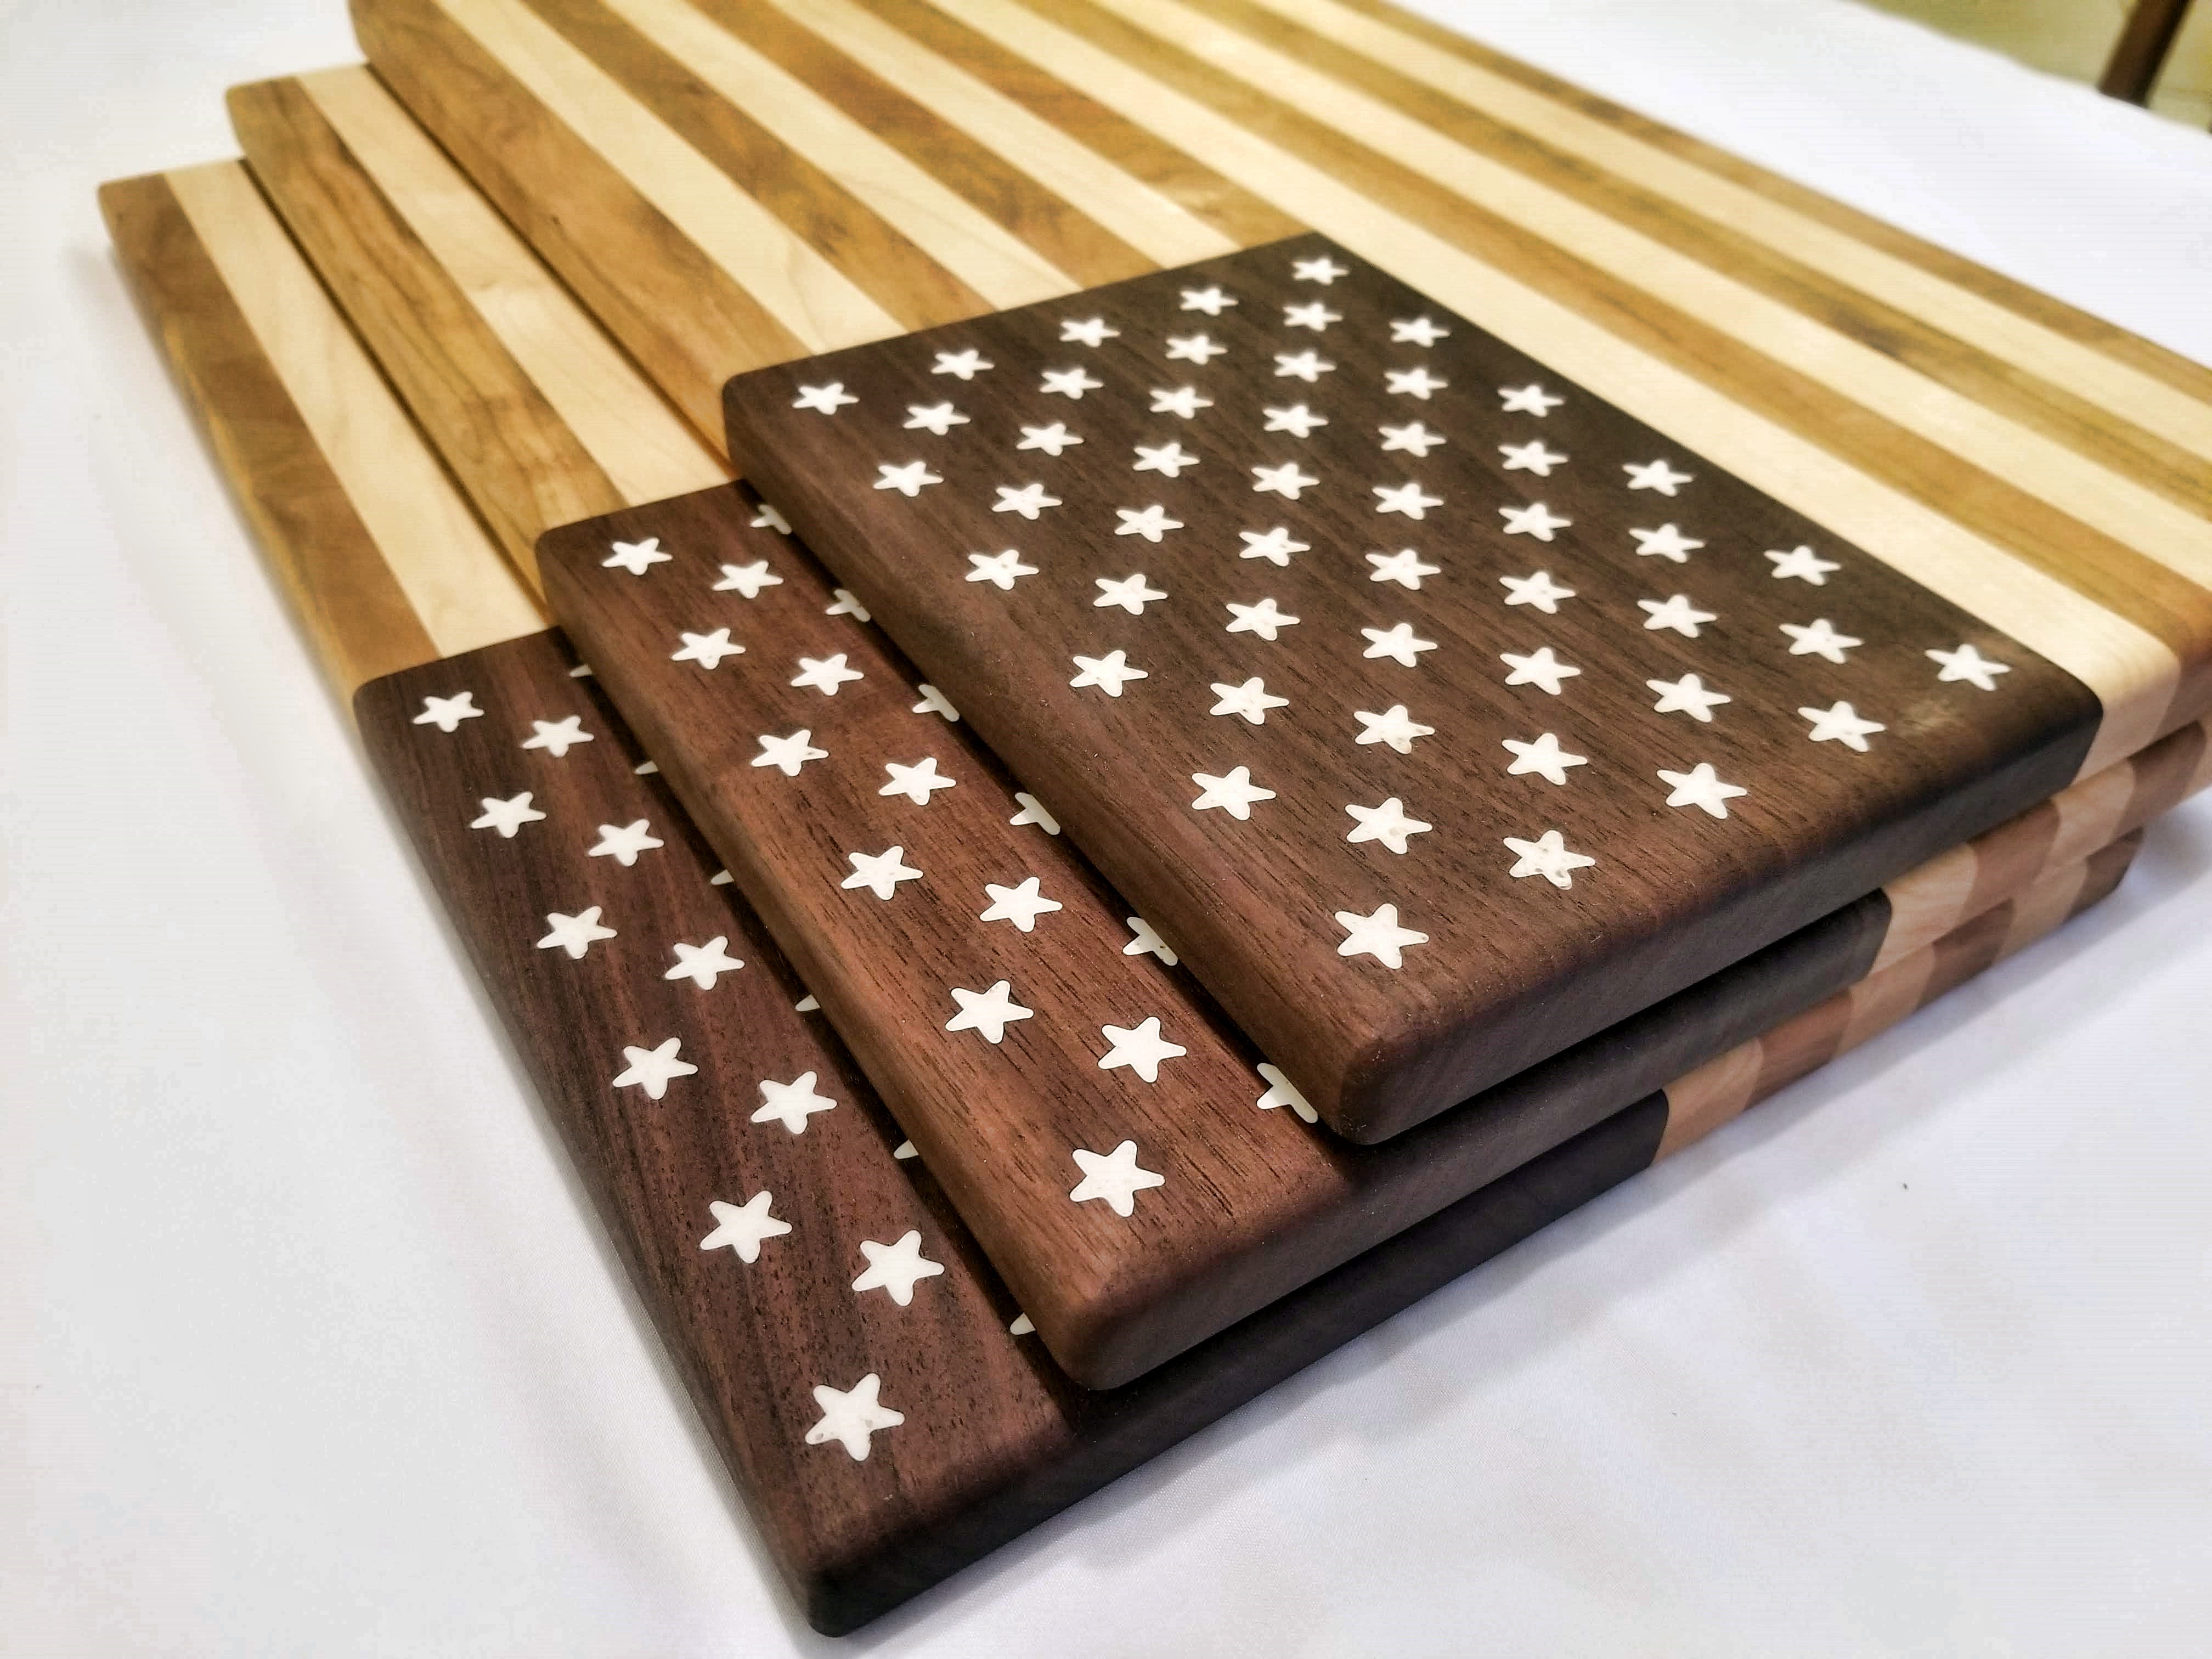
Oiling the boards up
Last up is to season them. For this I enlisted the help of Oceana. She applied multiple coats of food grade mineral oil over 30 minutes allowing the boards to absorb as much oil as they wanted. Any residual oil is absorbed over the next few hours as the boards are left to rest. After a few hours they were ready for their photo shoot so they can be listed for sale on here.


4 Responses
Hi,
I saw this board in the German television and my boyfriend fell in love immediately!
Do you have a shop and dispatch items to Germany?
Thank you in advance for your reply.
Greetings
Antje
Hi Antje. I’m glad you like the cutting board. Unfortunately I do not offer international shipping. Best regards, Jake
Interested in pricing of blue field with stars cut out for an American flag cutting board.
Hi Tracy. Unfortunately we no longer offer this product.