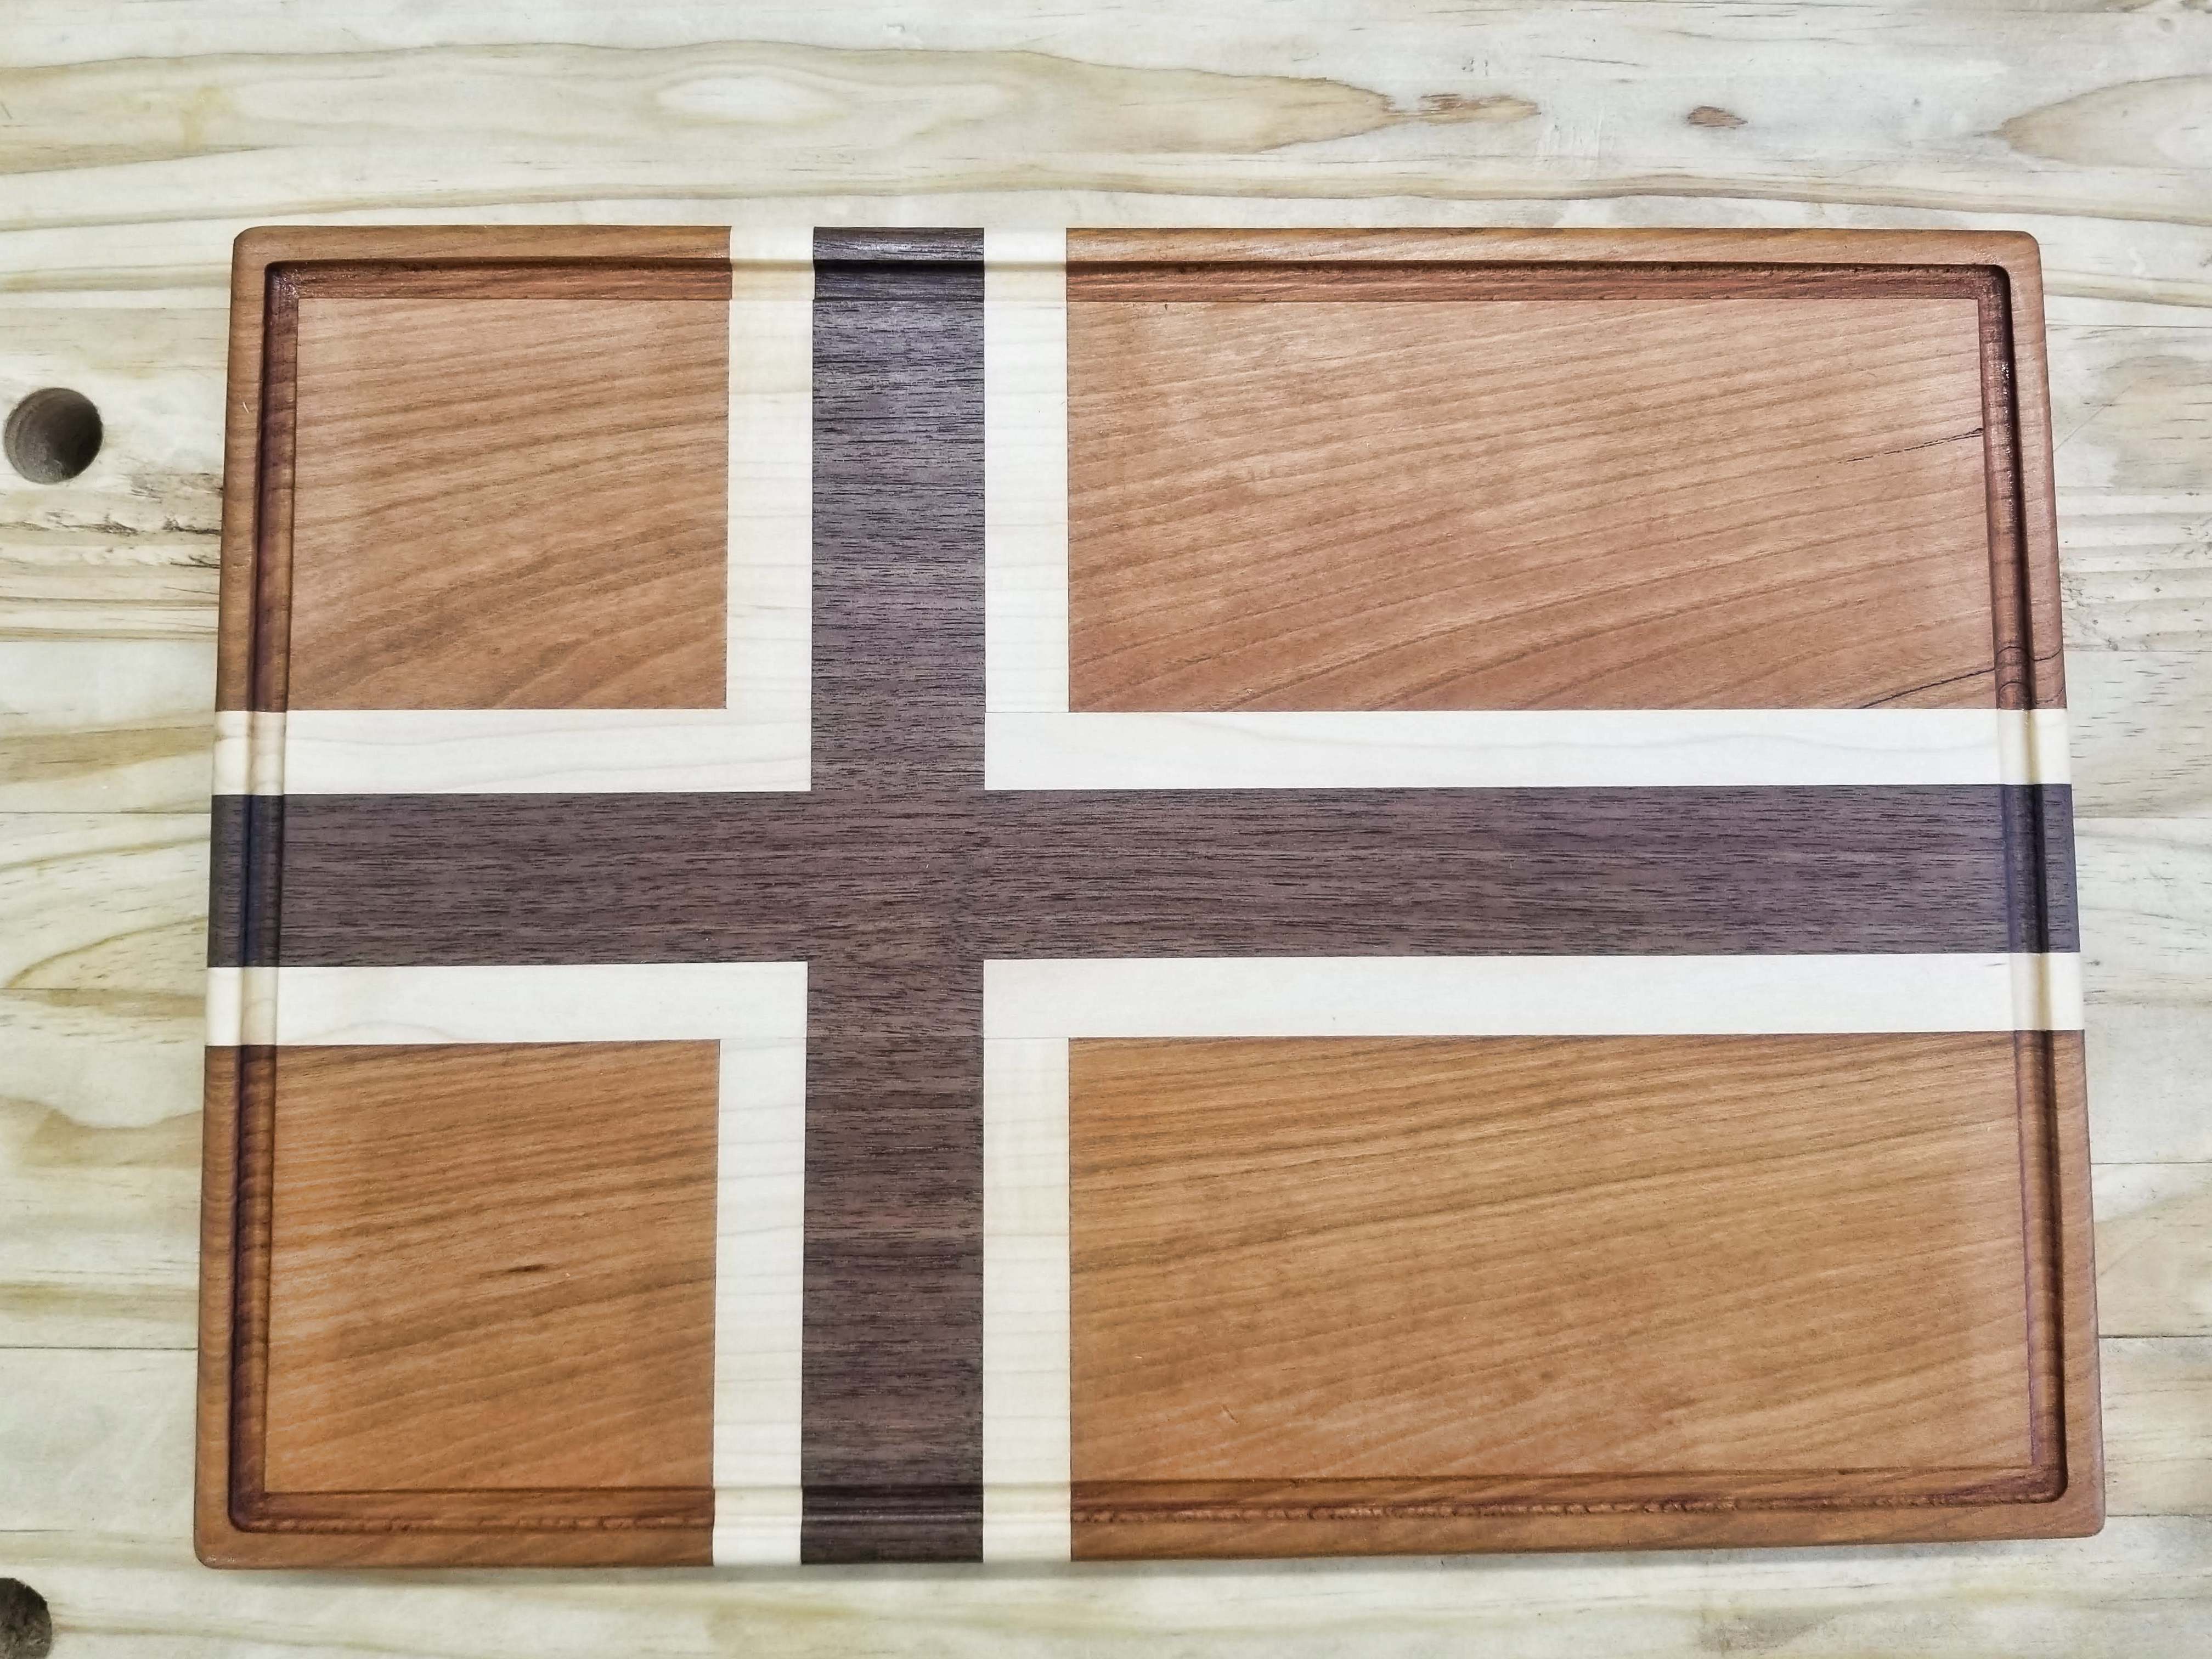
Norwegian Flag cutting boards
We have family that lives in Norway. We try and get over there yearly to visit and this year I wanted to bring some gifts with me. After a bit of thought, I decided on Norwegian flag cutting boards. I could make them small enough that they’d fit in my carry on (we travel light – no checked bags) and I could customize them easily so I figured that they’d make nice gifts. Perfect.
Getting Started
I downloaded a clear image of the Norwegian flag into my design software and then traced out all of the components. Next I scaled the size to a usable but carry on-able size. The boards wound up at 13 3/4″ long x 9 3/4″ wide. Based on that, I measured out for the individual components. The flag is very symmetrical so layout was pretty easy. The red squares in the top left and bottom left were 3 3/4″ x 3 3/4″. The big red rectangles on the opposite side are 7 1/2″ x 3 3/4″. The white strip is 5/8″ wide and the blue strip is 1 1/4″ wide.

Which way to build it?
With all of the dimensions in hand, I found material around the shop that would work. There’s a few ways this board could be built. What I mean by that is with all of the joints and intersecting pieces, you could run the grain direction in multiple directions, build it with mitered joints at the inside corners, etc. However, I chose to have all of the grain in the board running the same direction and here’s my logic behind it.
Board grain direction explained
Cutting boards go from being dry to being wet on a regular basis. With the change in moisture content of the wood, you’ll get wood movement. As the MC decreases, you’ll see shrinkage. As the MC goes up, the board will grow. This movement happens primarily across the width of a board, not across the length. I wanted all of the pieces board to expand and contract the same direction. I could have easily changed the direction of the grain on the white (maple) and blue (walnut) sections on the top and the bottom of the board. However, this would limit the movement of the red (cherry) areas of the board which could lead to failure in the future.
Tricky glue up
Next was cutting all of the pieces to size. Pretty straight forward once final sizes and grain direction was established.
With the pieces in hand, it was time for the glue up. I opted to glue the boards up in 3 steps. The top half, the bottom half, and then joining the two halves together. I’m not going to lie, this was a tricky glue up. I needed clamping pressure from all directions on 7 separate pieces at one time. Lots of clamps were in use for each section.
Once the bottom half and the top half were glued up, I trued up the mating faces of those boards on the jointer. Last, I glued the top half and the bottom half together with the walnut piece between them. The walnut in the middle is the only piece that runs continuous along the length of the board.
Truing up the board
After glue up, a couple of passes through my thickness planer trued up the faces. The long edges were passed on the jointer and then the table saw to true them up. At this point I’m only taking 1/32″ off to straighten up all of the edges. With the long edges done, I put the boards on my crosscut sled on the table saw and trued up the short edges. Once the boards were to final size, I set them up on the CNC and sketched out a juice groove in Aspire. I CNC’d a juice groove in each of them and then on the flip side I engraved a message on the bottom right corner.
Roundovers and Sanding
Coming off of the CNC, I rounded over all edges with a 1/8″ roundover. The boards are now starting to look nice. Next I sand them through 150 grit and then water pop them. Water popping is basically wetting the pieces and letting them dry. This causes wood fibers to stand up and makes the board feel rough. After the boards dry, I hit them with 180 grit and then 220 grit.
Mineral oil and beeswax
Almost done! Lastly, I hit the boards with a heavy coat of mineral oil and let it soak in. After its soaked in, I’ll apply a coat of beeswax/mineral oil and buff it in. Buffing it allows it to heat up slightly and soak deeper into the wood. This leaves a nice silky smooth finish and a board that is well protected and ready for food prep.
Custom Gift Boards Available
If you’d like to have a custom cutting board made up, just go here and fill out the super simple form! We’ll be in touch.


No responses yet