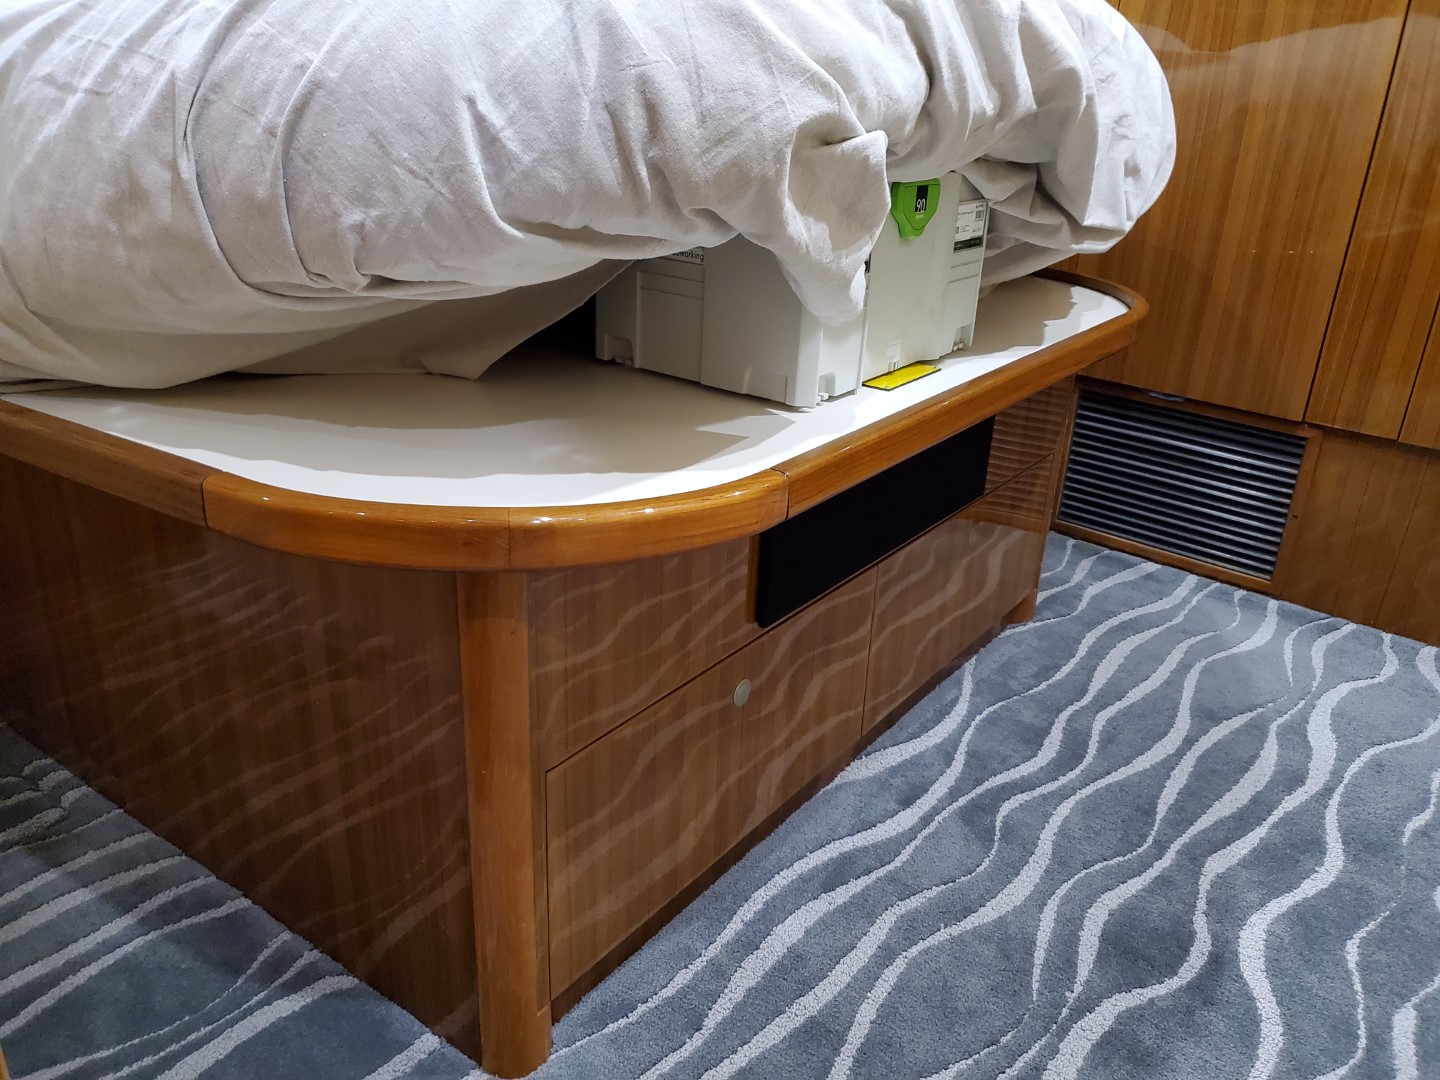
Missing radius corners
I was called out to look at adding teak radius pieces to the radius corners on the master berth and VIP berth bed rails. From the factory, the teak bed rail was applied only to the straight runs while the radius ends were left exposed.

The missing trim 
It looks unfinished
Milling the teak
After templating, I milled a piece of teak to thickness and began the layout. I book matched all of the corner pieces to maintain grain continuity throughout the corner. This lets the grain meet at the joint in the middle of the corner as the corners will be made in 2 pieces. Once I was happy with the layout, I rough cut the pieces on the bandsaw and then sanded them to the line.

Laying out the pieces. The pencil lines are barely visible 
Pieces are cut out and rough sanded
Rabbets and Tenons
With the pieces cut out, I cut out the rabbet on the backside where they sit over the edge of the bed platform. This was done on a router table with lots of passes taking a little off at a time and was quite nerve-racking. After cutting the pieces to fit on the template (leaving the outside ends long), I used my mortising machine to add a loose tenon into the butt joints in the middle. This strengthens the joint tremendously and also aids in alignment while dry fitting.
Dry fitting
On board, I cut off the ends of the straight runs of bed rail as they were rounded over. This would give me a square edge to butt up to. I methodically fit each corner in place and adjusted the thickness as necessary in places to line up to the plane of the straight runs.
Gluing the joints together
Next up was gluing the pieces together. For this, I used system three epoxy thickened with cabosil. After setting up over night, I rounded over the top and bottom and added a quirk at each end. The quirks add a decorative element to the joint and help hide any discrepancies between the radius pieces and the straight runs.
High gloss finish
After final sanding, I began building up coats. I wound up spraying 11 coats of finish over multiple days to completely fill the grain. As part of those coats, I toned the finish to color the new pieces to match the existing finish on board. This is always challenging – not so much in achieving the right color but selecting which color to match up to. I used the ends that I cut off as my sample and of the 8 ends, none of the colors were the same. I opted for a middle shade which was darker than some but lighter than the rest. It ended up blending well on board.

Polishing
After the 11 coats, the finish was left to set up for a few days. This allows the finish to shrink back while curing. It was then time to wet sand and polish. I sanded up through 1200 grit and hit them with various compounds to bring out the high gloss shine.
Installation
On board, I used a combination of epoxy and screws from below to mount the pieces in place. Once the epoxy sets up, they’ll be solid. They look great too!


No responses yet